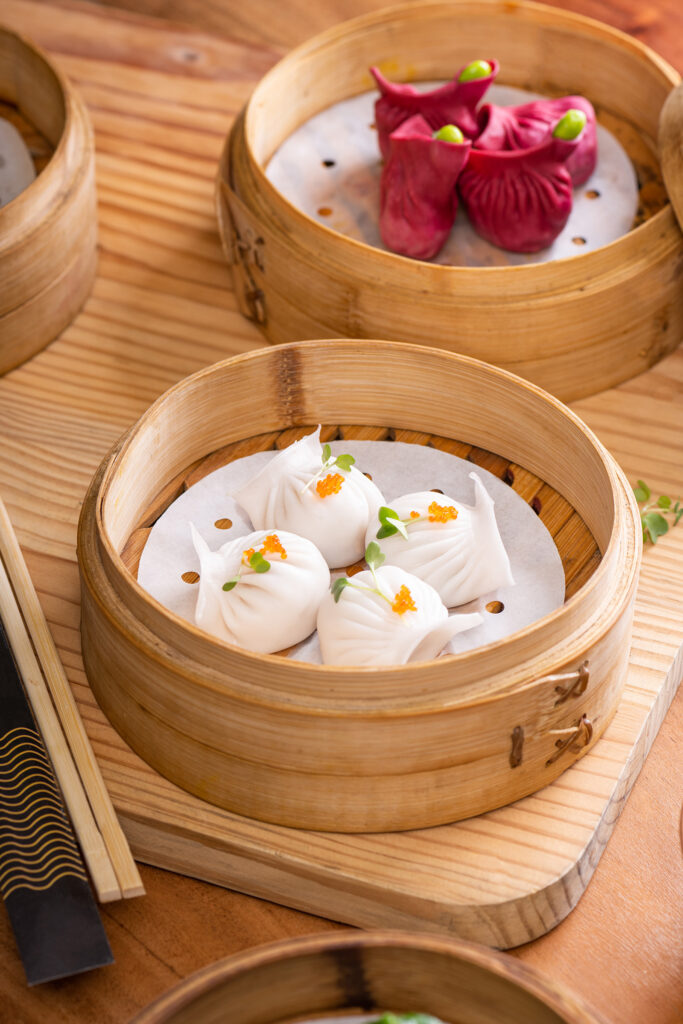
UNDERSTANDING THE USE OF LIGHT IN FOOD PHOTOGRAPHY

Learning to craft and shape light makes a lot of difference to your photography. It can make or break a shot. Proper lighting makes food look appetizing and appealing as it enhances the colors and textures of your food. The direction of the light is also essential in food photography.
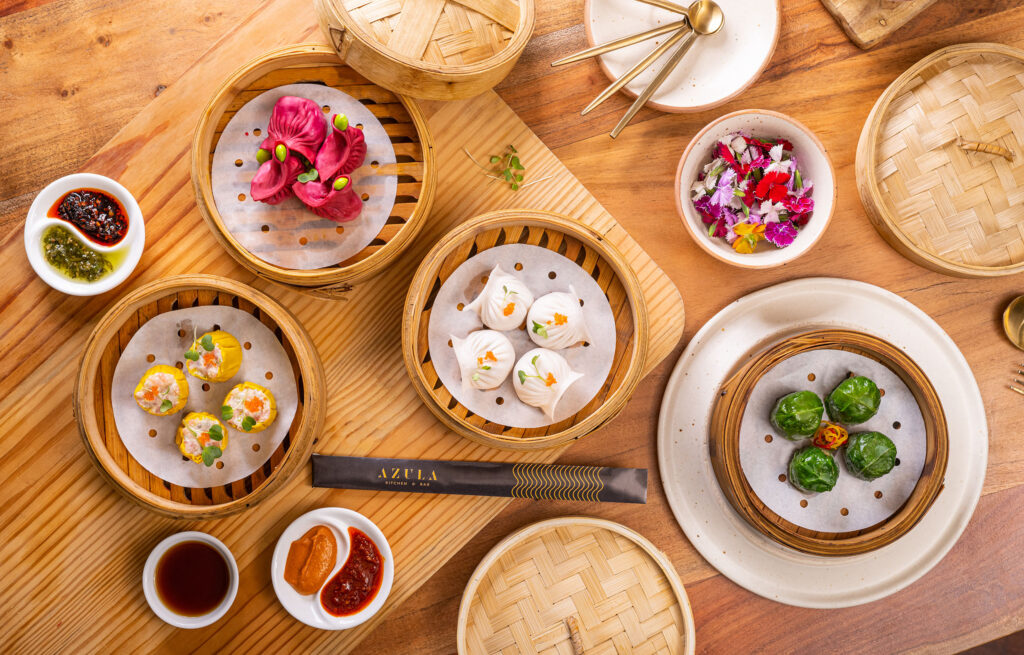
three main directions of light-
- Front light: Front light is when the light source is positioned directly in front of the subject, illuminating the subject evenly and reducing the appearance of shadows. This can be a flattering angle for portraits or e-commerce pictures, but can also create a flat and uninteresting image.
- Side light: Side light is when the light source is positioned to the side of the subject, creating long shadows and emphasizing texture and form. This can add depth and dimension to an image, making it more dynamic and interesting.
- Backlight: Backlight is when the light source is positioned behind the subject, creating a halo effect and emphasizing the silhouette of the subject. This can be a dramatic and striking effect, but can also create challenges in exposing the subject properly and avoiding lens flare. You can capture drinks and dessert well with this source of light.
Experiment with different angles and positions of light. Don’t be afraid to try different angles and positions when setting up your lights. Moving the lights around can help you create different effects and bring out the best in your subject.
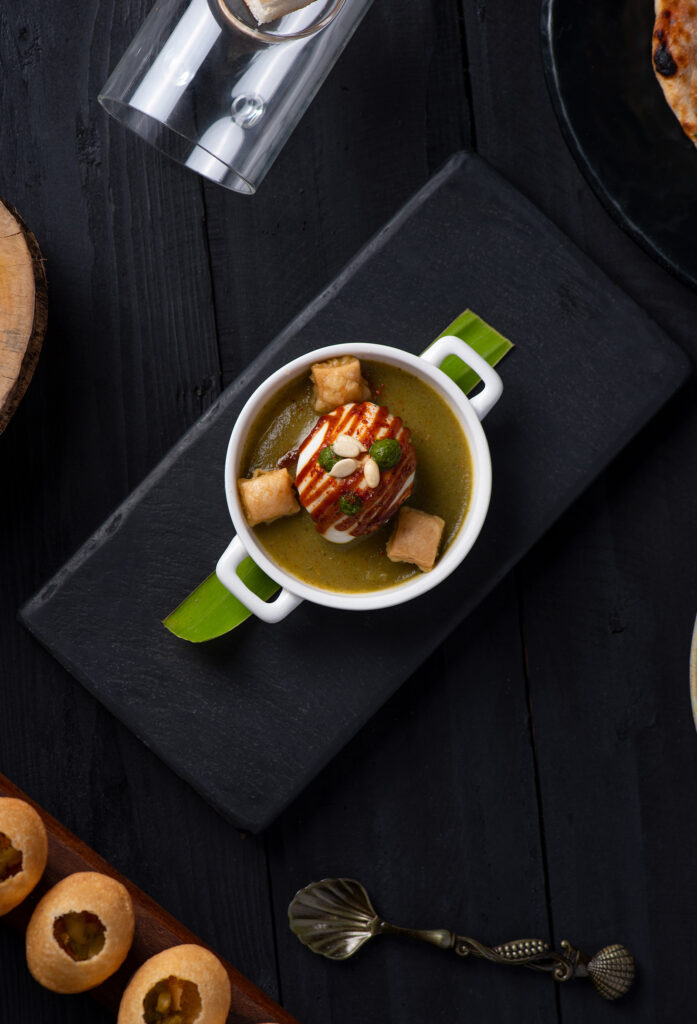
Using modifiers-
If you are using an artificial light, then you might have used modifiers. They play an crucial role in lighting as much as the direction of light itself. They allow photographers to control the direction, intensity, and quality of light to achieve their desired results. Here are some common modifiers used in artificial light photography-
Reflectors: Reflectors are used to redirect light and create fill light. They come in different sizes and shapes, and they can be made of various materials such as silver, gold, white, or translucent.
Softboxes: Softboxes are used to diffuse light and create a soft, even light source. They come in different sizes and shapes, and they can be placed on a light stand or held by an assistant.
Umbrellas: Umbrellas are similar to softboxes, but they are more portable and less expensive. They come in different sizes and shapes, and they can be used to bounce or diffuse light.
Grids: Grids are used to control the direction and spread of light. They come in different sizes and shapes, and they can be attached to a light source to create a narrow beam of light.
Gels: Gels are thin sheets of colored plastic that are placed in front of a light source to change the color of the light. They come in different colors and can be used to create a variety of effects.
By using these modifiers, photographers can create a wide range of lighting effects, from soft and diffused to dramatic and directional. They can also use multiple modifiers in combination to achieve more complex lighting setups.
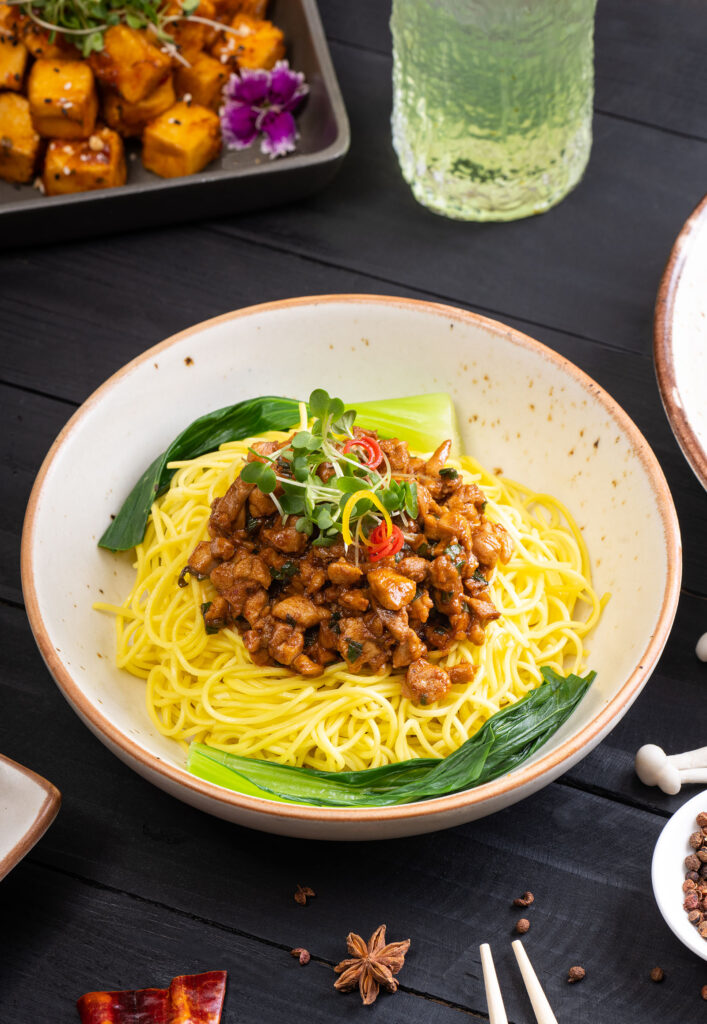
Before shooting the final image, take test shots to check the lighting and exposure. Adjust the settings and lighting as needed to achieve the desired result. Experimenting with different light angles and modifiers will help in making your frame look more dynamic. It always a good idea to keep upgrading your photography set-up.
